April 12th, 2023
The Project
The goal of this project was to develop a product for one of two clients, aimed at improving their daily lives. Both clients had been living with medical conditions that limited their ability to perform certain tasks or enjoy activities. Our team conducted client interviews and research to develop a solution for a visually impaired client. We designed a device that communicates colors to the user, addressing a daily challenge they face.
My Role
I served as both the general team manager, responsible for organizing and preparing all aspects of the project, and the head of modeling. I focused on the design and manufacturing of the physical product, prioritizing the integration of the physical interface with the digital hardware.
Developing a Product
Creating a Concept
In our initial team discussion, we decided to focus on one of the two clients: one with MS and mobility issues, and the other with vision loss due to diabetes. We generated more ideas for the latter, so we chose to concentrate on that client.
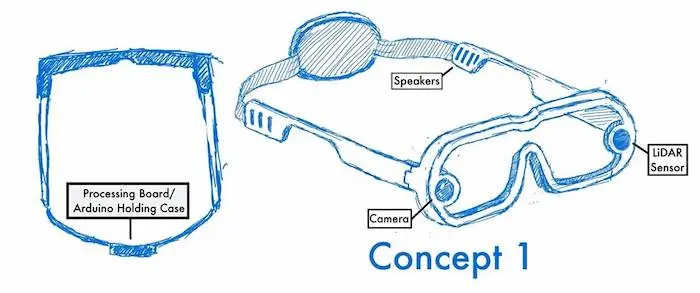
The team developed initial concepts centered on providing value to the client with vision loss. We devised designs featuring computer-aided vision, allowing the device to provide audio descriptions of the environment. This led to two initial designs: a device in the form of glasses and one in the form of a watch. Both designs could determine the color and type of object detected.
Redefining a Design
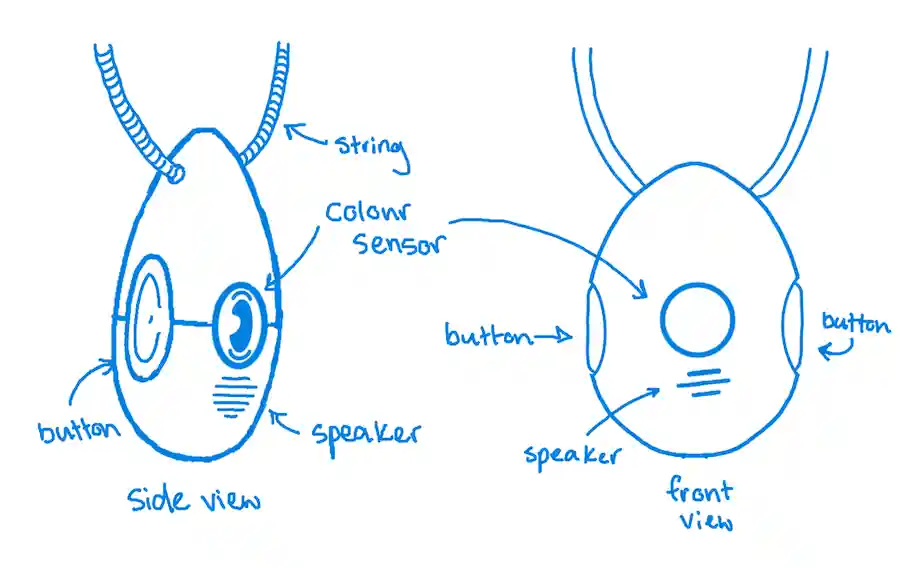
While our design concepts were promising, we needed to consider feasibility and other factors. We decided to simplify the design from an item recognition and color detection device to just a color sensor. Feedback from health science students and professors highlighted potential discomfort with glasses. We reoriented the design to a necklace, incorporating features from both the glasses and watch.
Building a Product
With the design finalized, we shifted focus to constructing a prototype. Two team members, responsible for the electrical components, created a rough working prototype as a proof of concept. We then ordered the necessary parts.

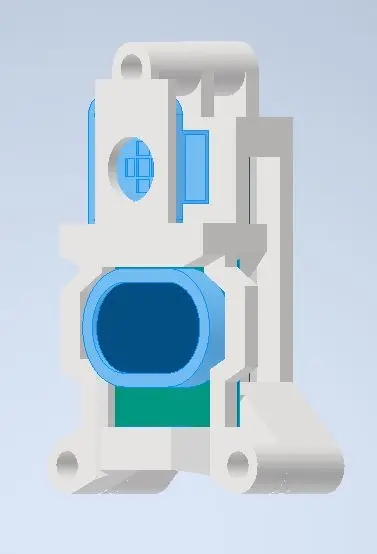
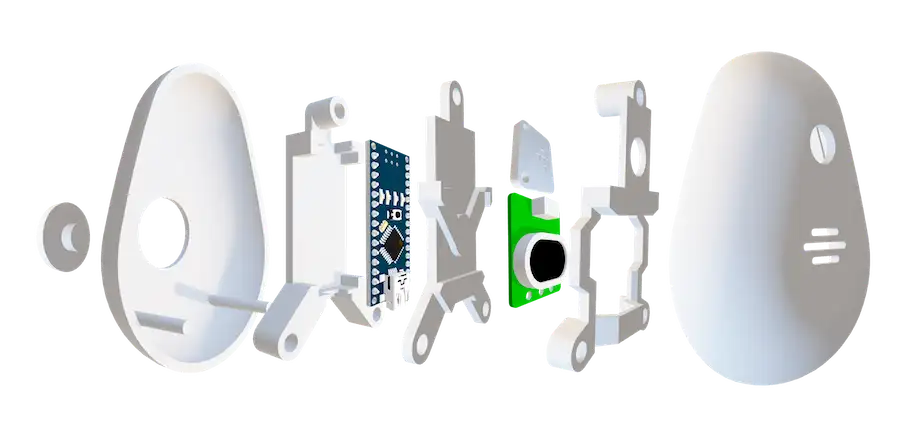
Modeling
Using the dimensions and pictures of the purchased parts, I modeled each component as precisely as possible. Upon arrival, the parts were quite accurate. I then modeled a structure to securely hold all components in the most compact form possible, considering ease of assembly and marketability. I designed the shell for the internal structure based on my sketch of the pendant, aiming for sleekness and ease of construction.
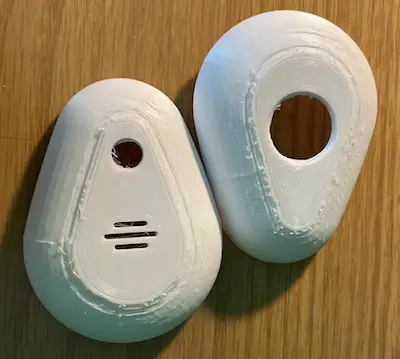
Printing
The 3D print of the shell required extensive cleanup.
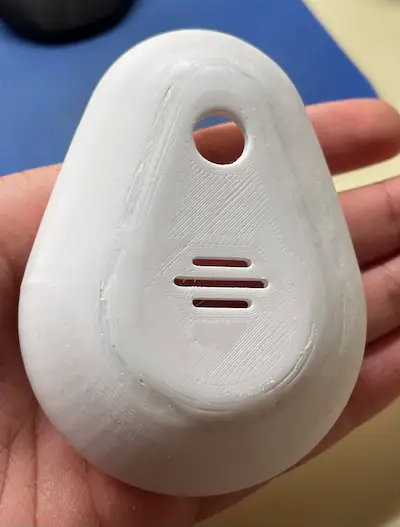
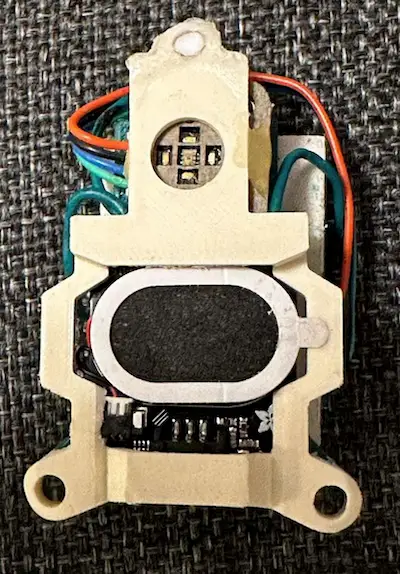
Assembly
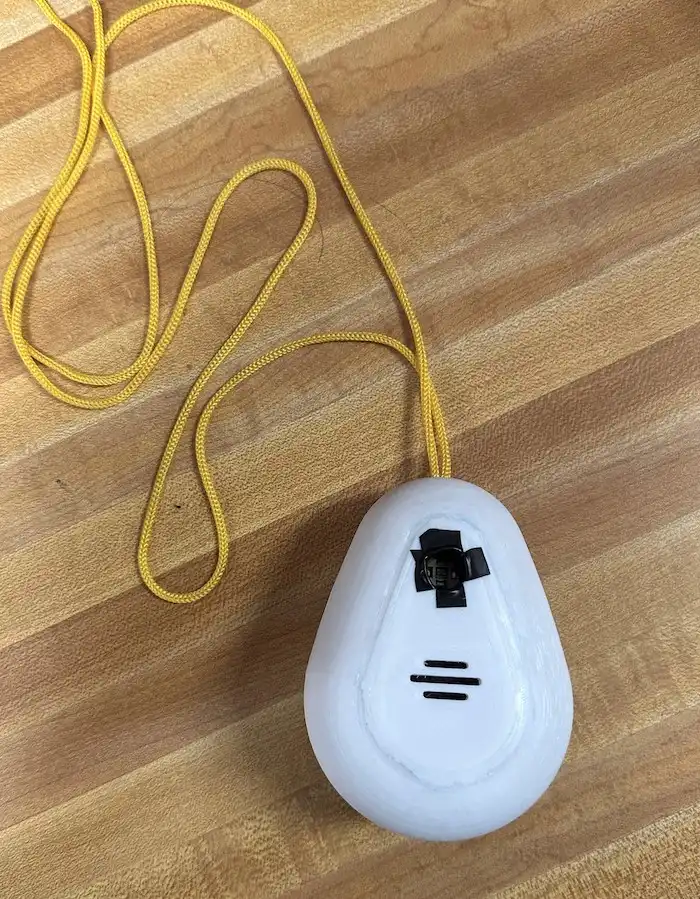
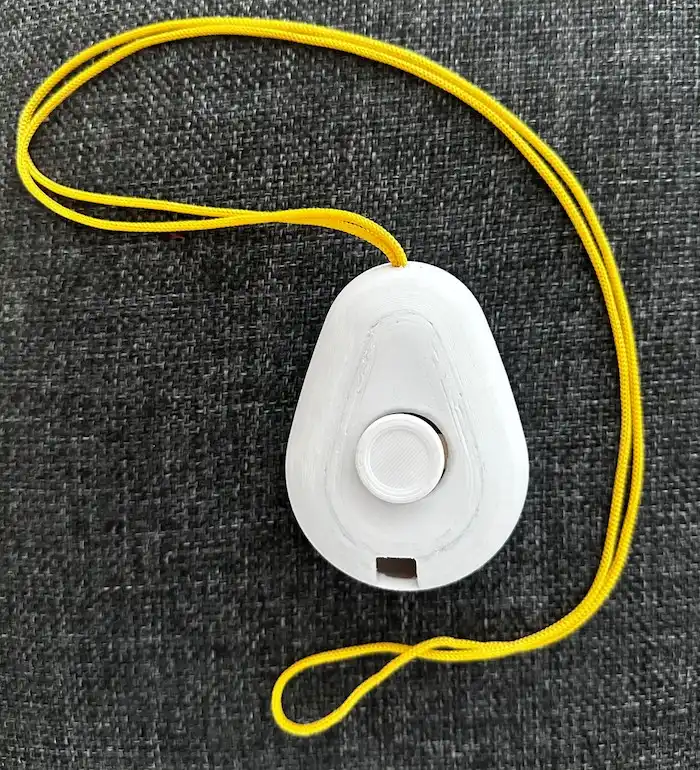
The rest of the team and myself worked on assembling the prototype. We attached all the components to the internal structure, and soldered the wires to minimise size. We used some popsicle sticks to help secure the button to the back of the shell, I view this as small failure on my part as I had not taken that into consideration when modelling.
Final Product